You sell clothes, here is a tutorial showing you how to create this type of product with the module. You can even inspire from this tutorial if you are selling a different type of product, the logic is the same.
1. Prestashop Product
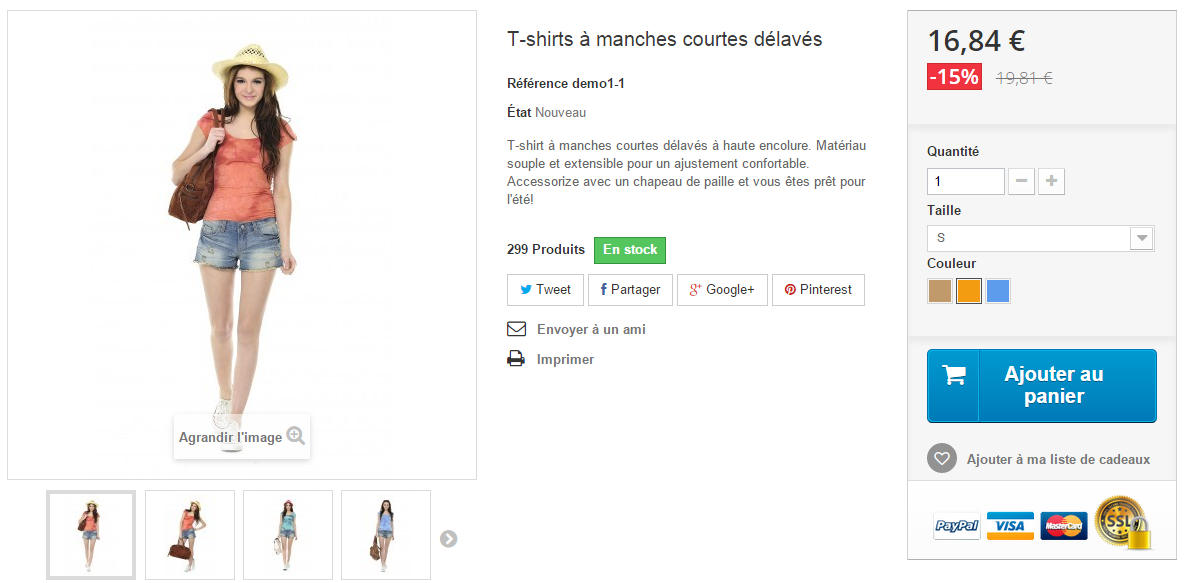
We will use as basic product for this example the first Prestashop demonstration product when it is installed by default with demo data:
Front Office View:
Backoffice View:
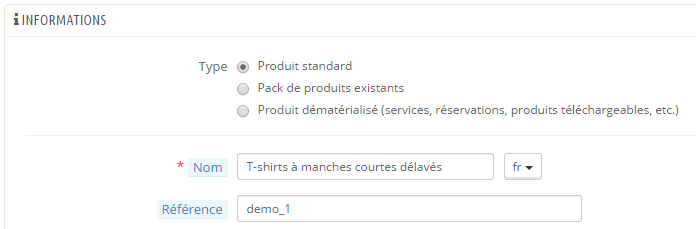
Note that we have added a reference because by default Prestashop doesn’t put any. This reference is required to export to Jet.com.
2. Model Creation
First you create your product model, so it is about creating a template that will be applied to the export of all your products, this template will define the type and attributes of your products.
2.1 Creation of a new model
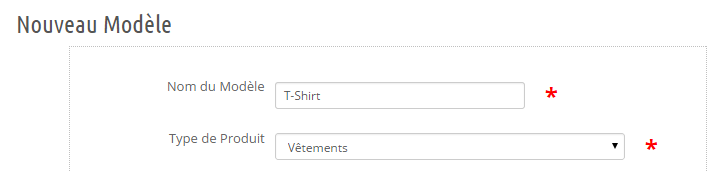
We give a “mnemonic” name to the model, so a name that we can easily remember.
2.2 Products Data
We will fill in the Jet.com attributes of the product, not to be confused with Prestashop attributes, we will call the Jet.com attributes the product data.
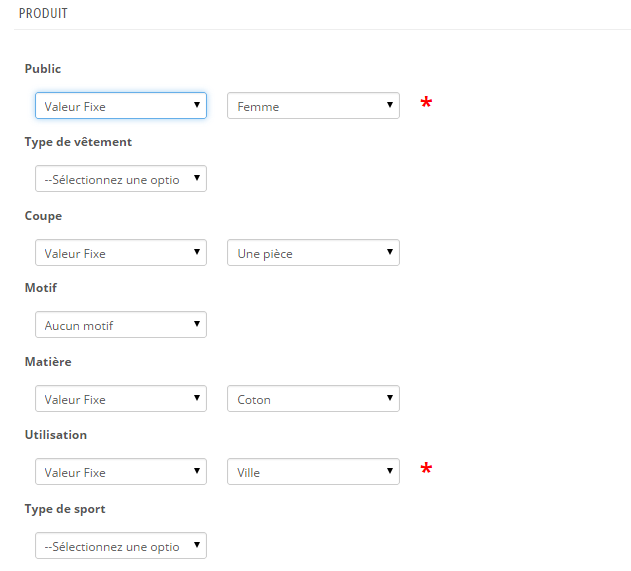
We need to fill in all fields marked with a red *. These are required fields.
Generally, we will indicate “Fixed value” then the corresponding value. For more advanced cases, please see the help on models creation.
2.2 Attributes
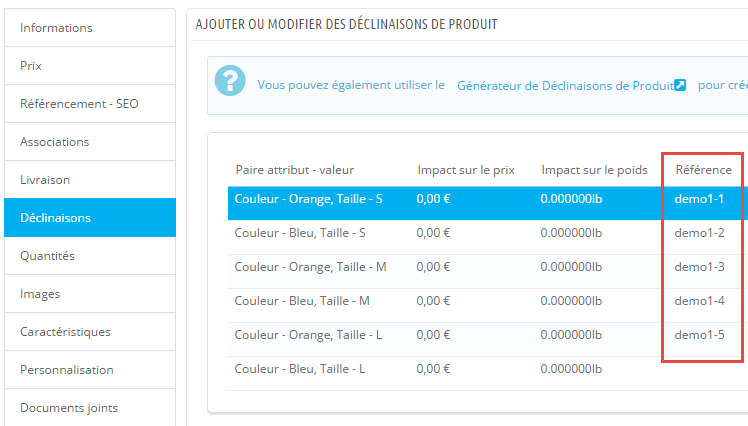
The product we have has combinations, these combinations have attributes, and as on Jet.com we have variants which are equivalent, we will combine our attributes and enable the generation of Jet.com variants.
More simply, we will indicate how the product is to be exported, what attributes will be used for the fields Size and Color.
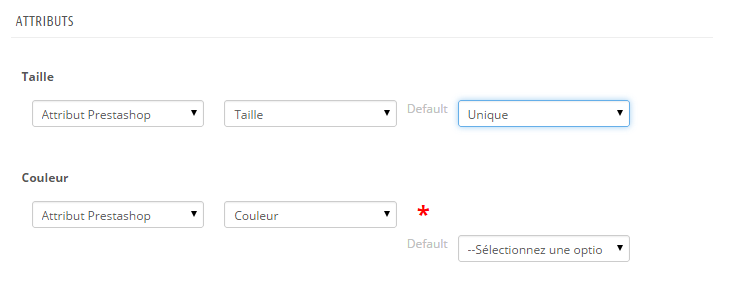
So simply, we will select our size and color, which indicate that the module must generate variants on Jet.com. For more advanced cases see help on on models creation.
Save your configuration.
3. Mapping Configuration
Each creation of the pair Jet.com attribute + Prestashop attribute creates a mapping in the eponymous tab.
Each mapping will identify the missing values, i.e. values in the Prestashop side which do not correspond to a value in the Jet.com side.
Concretely if you have a “Off-White” color and this one does not exist on Jet.com, the module will ask you to establish the correspondence, such as:

Carefully fill all your mappings so that your products can be exported properly, otherwise there will be an error when exporting.
Save your configuration.
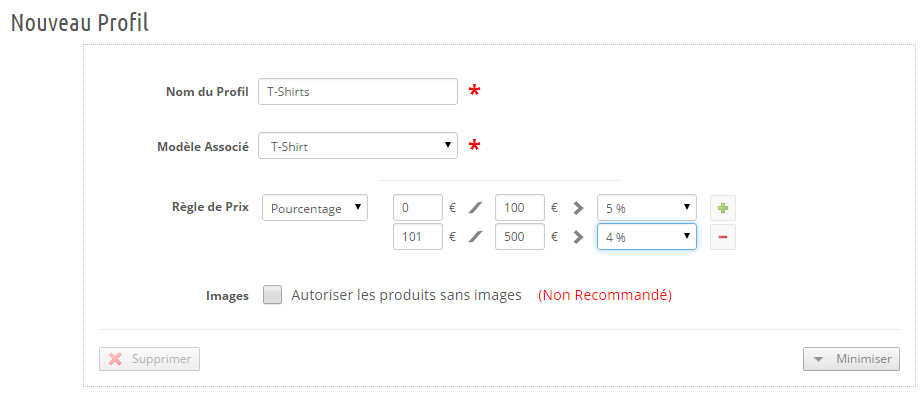
4. Profile creation
Profile will allow adjustments to a set of categories.
For example you can configure for a set of categories the pricing rules.
Also, in the profile, you will associate the product model to use.
Let’s create a profile for our T-Shirt categories:
Save your configuration.
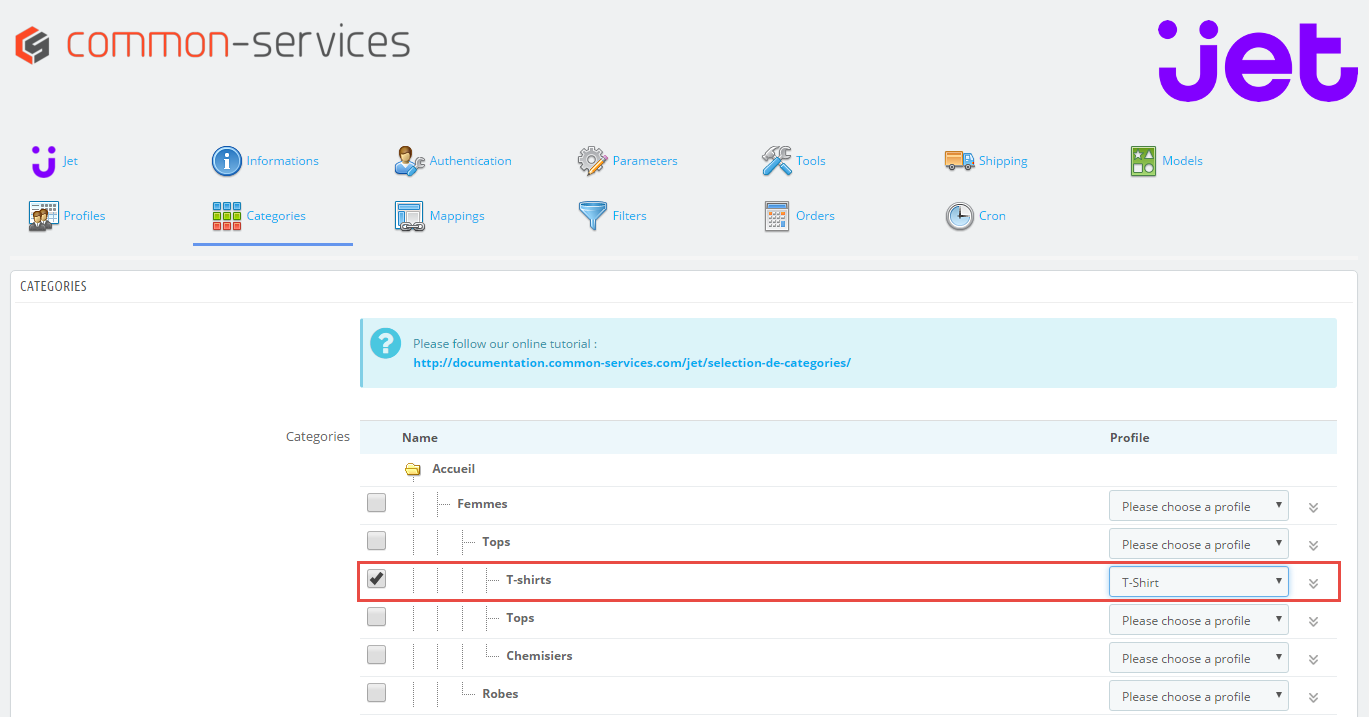
5. Categorie selection
Finally, we will associate the category or categories that we wish to export to the profile. We know that our profile is associated with a model, so at this point the module has all the parameters required to export.
We associate then our category containing our T-shirts to the necessary profile:
Save your configuration.
You have finished configuring your T-Shirts export. You can export your products via the tab Products creation.